马上注册,结交更多同城好友,享用更多功能!
您需要 登录 才可以下载或查看,没有帐号?立即注册

x
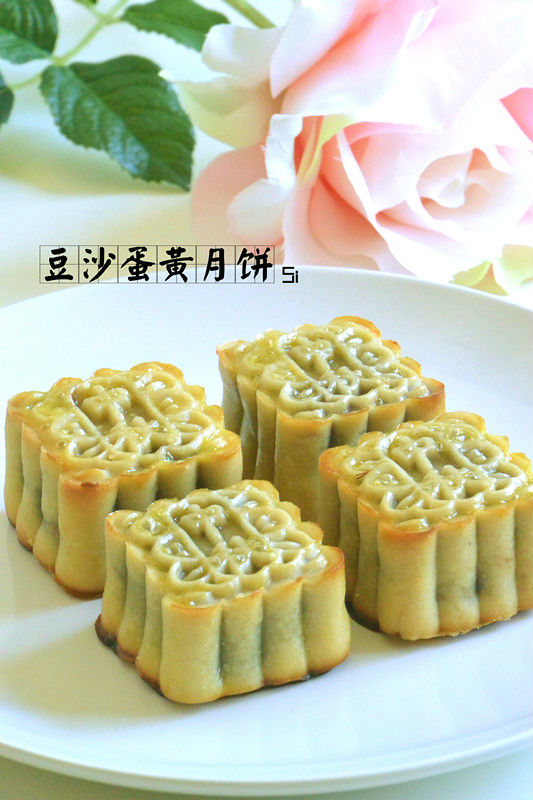
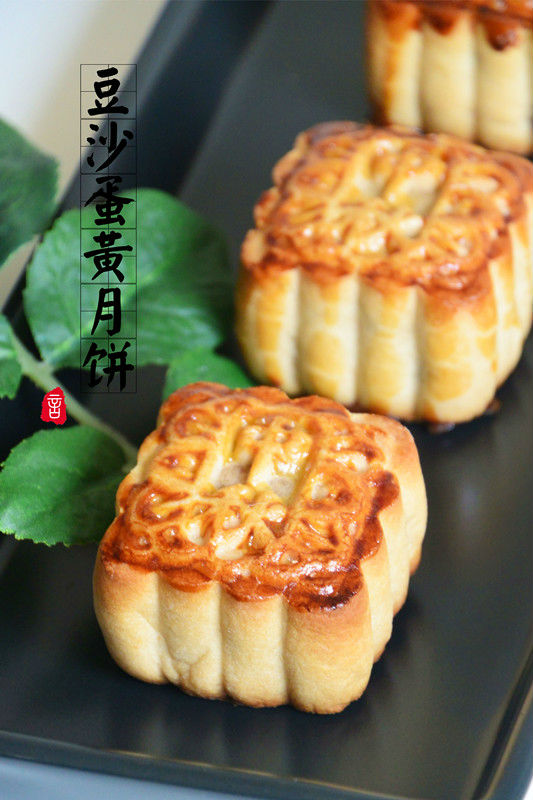
  材料: 饼皮:低筋面粉110克,转化糖浆100克,食用碱1/4茶匙,水1茶匙,色拉油30克 馅:咸蛋黄12个,豆沙240克 其他:鸡蛋1个 步骤:  1. 咸蛋黄用料酒腌制30分钟。 2. 食用碱与水以1:4的比例搅拌均匀,代替枧水。 3. 将糖浆,枧水,油加入一大碗中,搅拌均匀。 4. 筛入面粉。  5. 揉匀成光滑面团,包上保鲜膜松弛1小时。 6. 烤箱提前预热180度,放入咸蛋黄烤8分钟左右。 7. 将豆沙馅分成20g每份。 8. 用豆沙包裹蛋黄。  9. 为了防止天热豆沙变软不好操作,包裹好的馅团放冰箱冷藏。 10. 将冰皮面团分成20克每个。 11. 摁扁后包裹住豆沙蛋黄馅。 12. 撒上面粉,防止和月饼模粘连。  13. 将磨具内部抹上面粉,放入完成的月饼团。 14. 在铺有油纸的烤盘上挤压成型,左手一定要用力的将磨具的下半部紧贴烤盘。 15. 烤箱提前预热180度,放入月饼,烤5分钟。 16. 刷上蛋液,放回烤箱中再烤12分钟左右。 17. 放凉后放入冰箱冷藏三天,待回油后即可食用。
|