
马上注册,结交更多同城好友,享用更多功能!
您需要 登录 才可以下载或查看,没有帐号?立即注册

x
南瓜是一种很健康的食品,但平时如果就这样吃,我不是很喜欢 万圣节就要来了这款蛋糕,融合了奶酪的浓香和南瓜的清香,让这个万圣节充满梦幻。 金黄色是属于秋天的颜色,用颜色来想象一下凉爽秋天到来的情景吧。  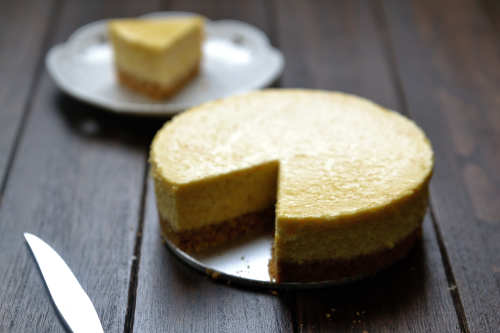  储存时间:冷藏2天 制作时间:1-2小时 成品数量:1个 使用工具: 500px打蛋盆,手动打蛋器,6寸活底圆模、400px面粉筛、木质擀面杖 使用材料: 消化饼干90g 黄油35g 奶油奶酪250g 细砂糖50g 南瓜泥125g 鲜奶30g 全蛋2颗 玉米淀粉1大匙  制作方法: 1,消化饼干掰开,装入保鲜袋,用擀面杖压成粉末 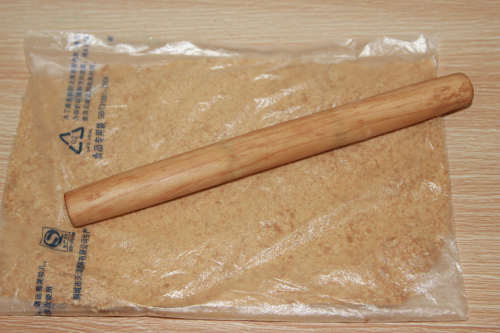 2,,黄油隔水化成液态  3,将融好的黄油倒入消化饼干碎内搅拌均匀  4,将饼干和黄油的混合物倒入6寸圆形模具内。用擀面杖压实。移入冰箱冷冻,备用 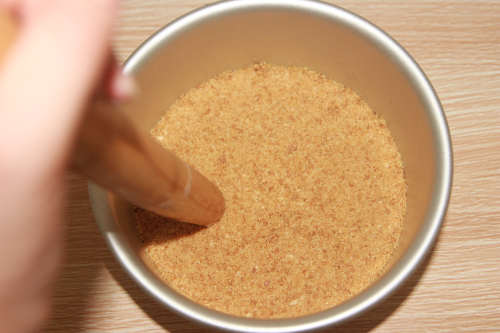 5,南瓜去皮,加盖用微波炉高火加热5分钟,将南瓜压成泥 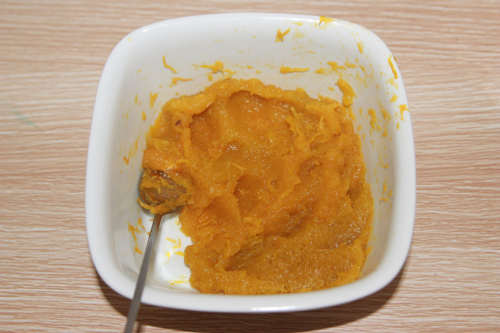 6,放在筛网上滤干水分,在称重量  7,奶油奶酪加细砂糖隔水加热至软化。一边加热一边搅拌至无明显颗粒的膏状  8,分两次加入全蛋,用手动打蛋器搅拌均匀  9,加入南瓜泥及牛奶搅拌均匀  10,加入玉米淀粉,用手动打蛋器搅拌均匀  11,从冰箱取出提前准备好的饼干底,将第五步做好的芝士蛋糕糊倒入饼干底内 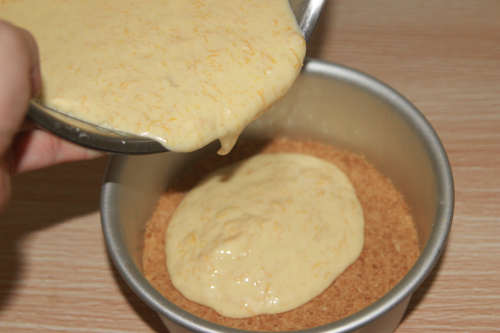 12,烤箱底部放一盘水,以上下火、160°C、倒数第二层烘烤50分钟。移入冰箱冷藏4小时脱模 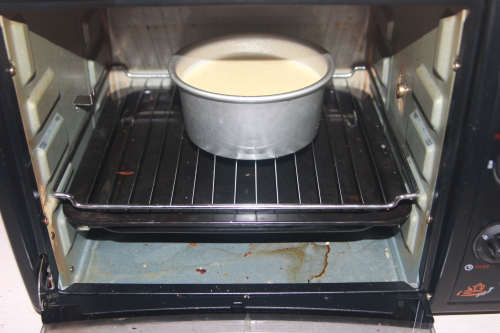 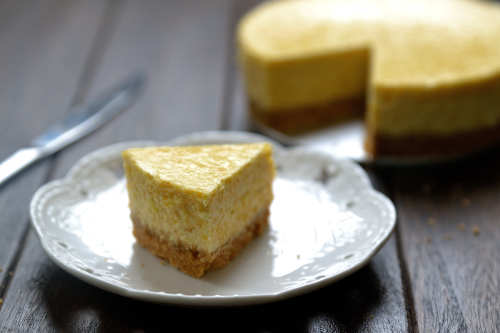
|