
马上注册,结交更多同城好友,享用更多功能!
您需要 登录 才可以下载或查看,没有帐号?立即注册

x
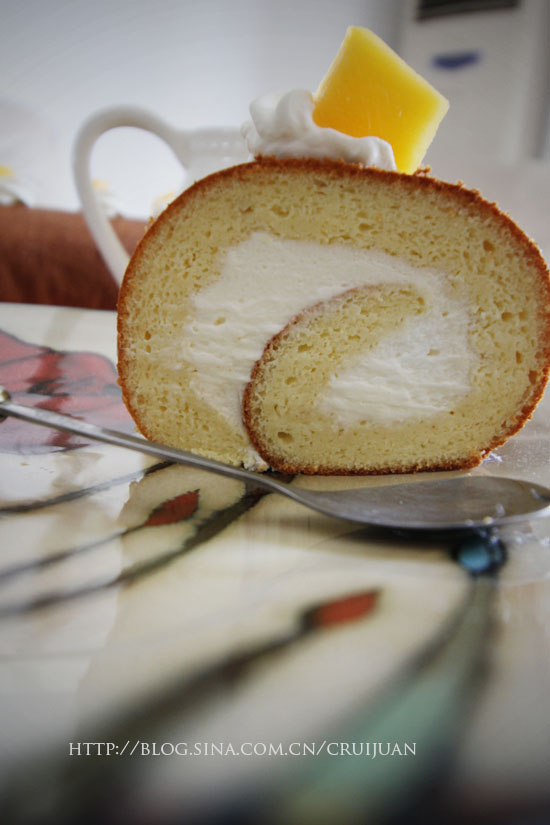
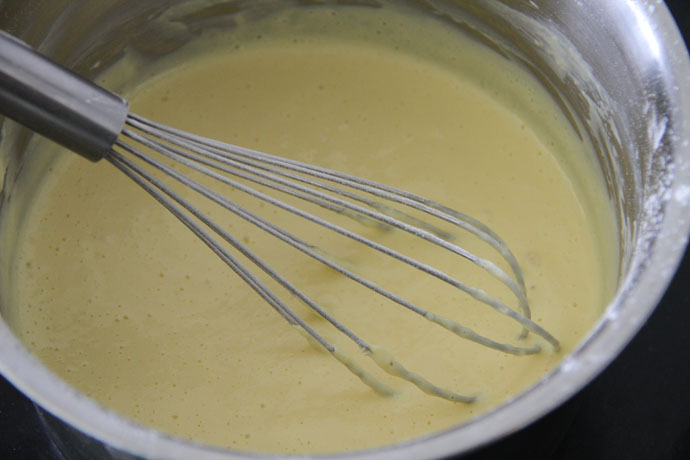
那天碰巧在网上看到了浮云蛋糕卷,一搜好多蛋糕店都在推出,流行趋势怎能不跟呢。。。据讲口味轻盈如云朵,入口即化,我尝试做了一次,哇塞,果真是这个样子,所以今天按照网上流行的方子做了一次,方子来自O杜若。在此感谢!刚买了个小广角镜头,所以顶着蛋糕的“鼻子”拍的照,大小气孔清晰可见。。。 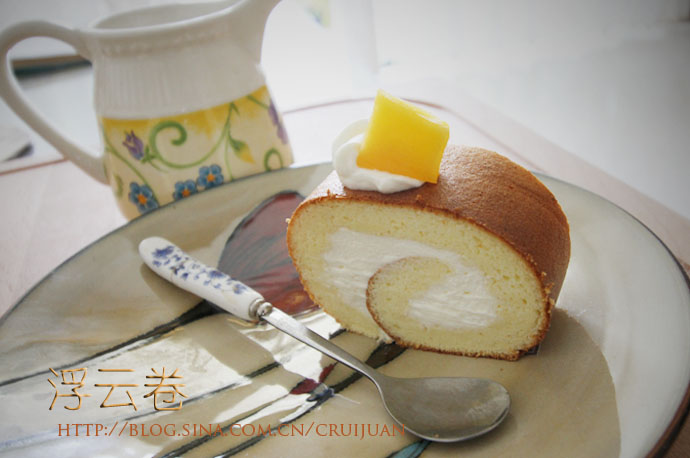 配料:(适合28X28cm烤盘) 蛋黄 5个 糖 30g 牛奶 280g 淡奶油 45g 低粉 45g 蛋白 130g 糖 50g 内陷: 淡奶油 210g 糖粉 15g 做法: 先准备热水一锅,冷水一盆。烤盘垫烤纸。 1、将蛋黄加糖大致搅打一下。 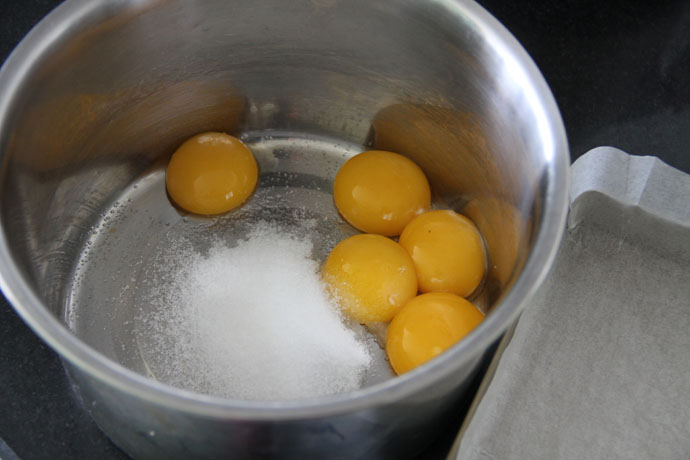 2、将牛奶加淡奶油微波炉中火加热一到两分钟后(感觉温热即可),细线倒入蛋黄中,快速搅拌均匀。 
3、加入低粉搅拌均匀。
4、在热水锅上,快速搅拌。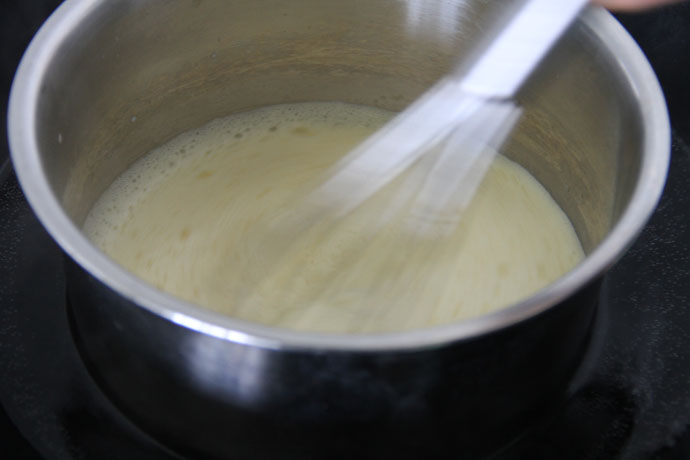 5、至稍浓稠的状态(有比较明显的划痕)。移至冷水盆中快速降温,之后盖保鲜膜待用。 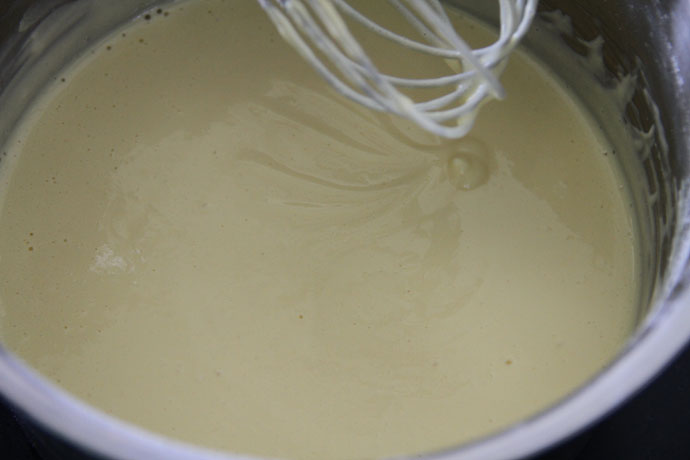 6、蛋白打至粗泡后,加糖打至小弯钩状态。
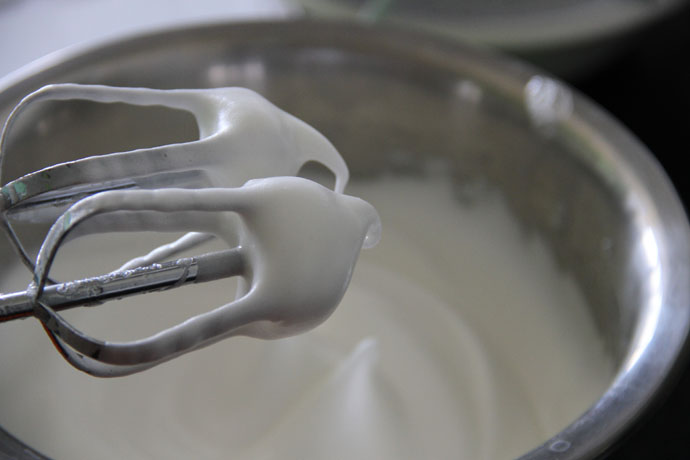
7、将少许蛋白舀到蛋黄糊中,搅拌均匀,这一步是为了后面混合容易。
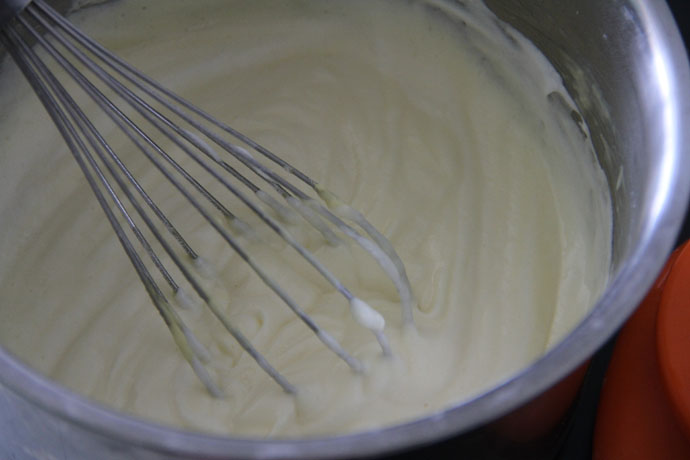
8、将剩余的蛋白分两次与蛋黄糊混合,并搅拌均匀。 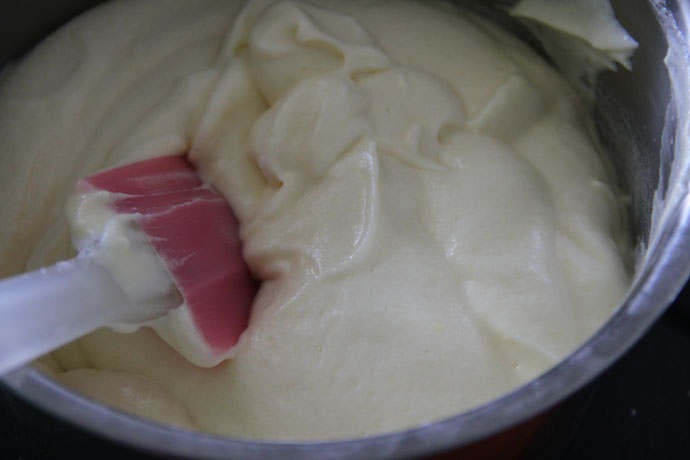
9、将混合好的蛋糕糊倒入烤盘中,烤箱预热170度,烤30到40分钟(按自家烤箱而定)。
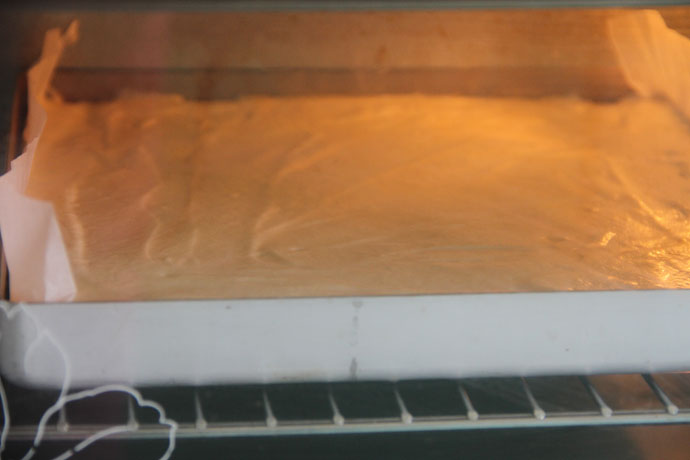
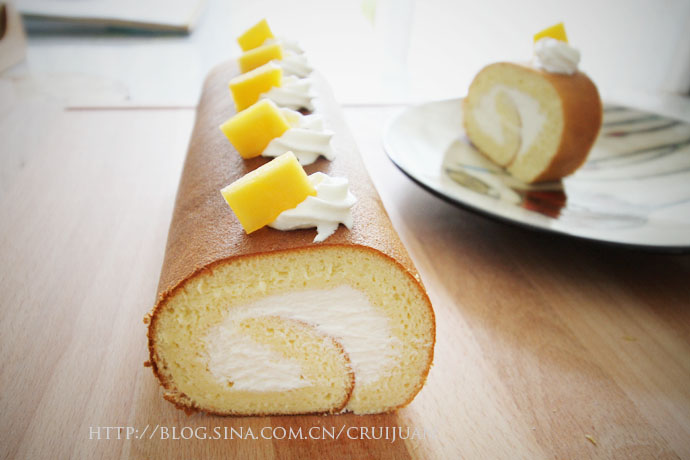
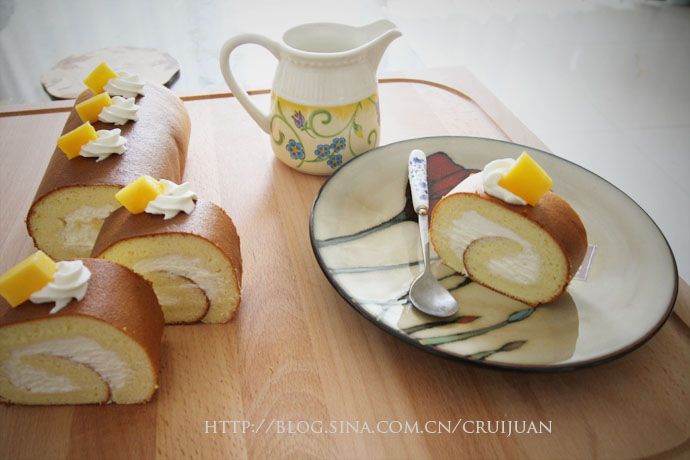
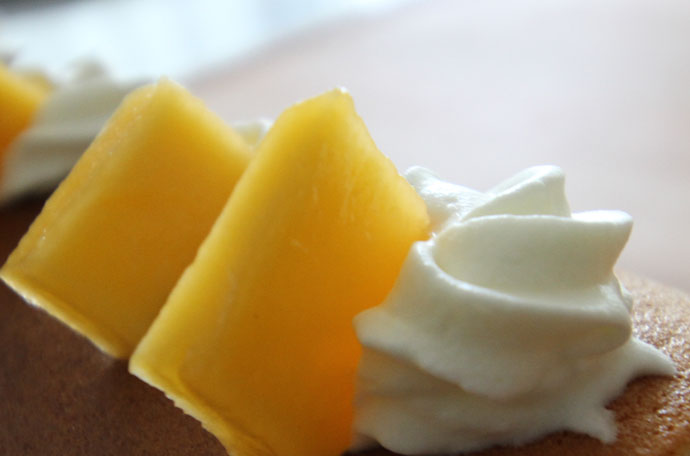
10、烤好后,将蛋糕从烤盘移出,表面盖一张烤纸,冷却至手温后,将蛋糕体翻面(翻面要小心,因为蛋糕体很“脆弱”),将底部的蛋糕纸剥掉。 将淡奶油加糖粉打至9分发,将其抹到蛋糕体的表面,尾部剩余1寸距离不涂抹。 将蛋糕体卷起,表面稍加装饰。我加了点芒果块。 烤时,为了表面上色更均匀,我在剩余10分钟时,调换了烤盘的方向。 个人感觉最好烤35到40分钟,放在中下层烤。
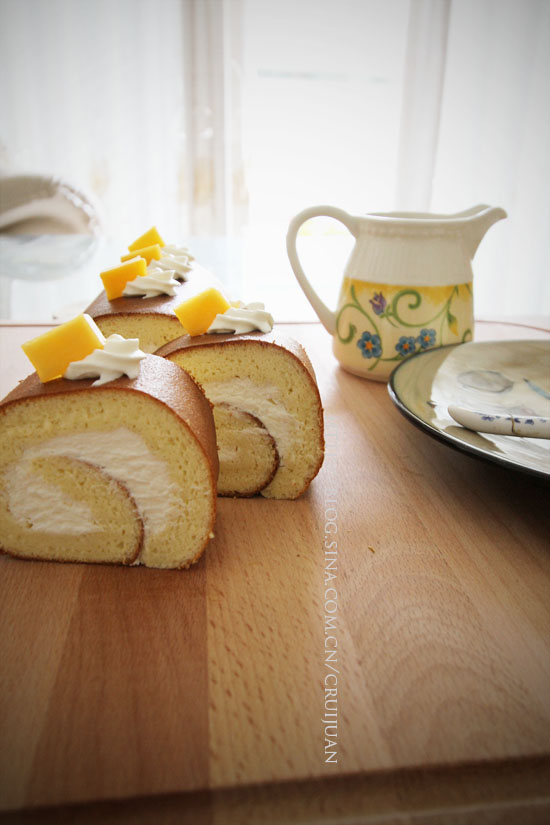 
想起一句话“什么都是浮云”,这句话也体现在这款蛋糕上,轻轻飘飘,品尝它,你的心会飞翔到云朵上,管它世间的烦恼,哈哈,神马都是浮云!内部组织并不是细腻型,也许正是这样,才能更加飘忽。。。
| 


 发表于 2014-1-5 02:31:44


 支持
支持 反对
反对


