马上注册,结交更多同城好友,享用更多功能!
您需要 登录 才可以下载或查看,没有帐号?立即注册

x
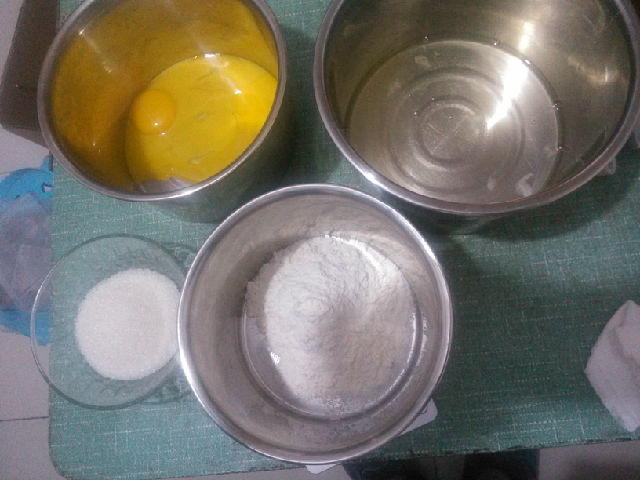
ACA ATO-TM33HT烤仆小智电子式烤箱试用第三篇来了,新手必磕,必死磕的戚风蛋糕。 呃,脱模的时候不小心破了一点点。不要在意这些细节,毕竟已经连续失败两次,第三次做了。  主辅料:鸡蛋4个总重242克,低筋面粉80克,糖粉85克,牛奶40克,玉米油40克,白醋数滴。  1、所有原料称好,鸡蛋分离蛋黄蛋清。  2、蛋清加几滴白醋以帮助稳定,用打蛋器打发至起粗泡,加入20克糖粉或白砂糖。  3、继续打发至泡沫变细腻,再加入20克糖。  4、继续打发至略显浓稠,能略微挂在打蛋器上缓缓下流时加第三遍糖,依然20克。  5、持续打发至能提起一个挺直的尖角,并且倒扣时蛋白也不会流下来。(打蛋器被我弄坏了,这连续20分钟的搅打累死我了!!!)  6、蛋黄加剩余的糖粉打散,然后加入40克玉米油,继续搅打均匀,然后加40克牛奶,搅匀。  7、筛入低粉,用刮刀拌匀,遇到有颗粒的在底下稍微碾磨一下。  8、蛋黄糊中加三分之一蛋白,切拌均匀。  9、倒回蛋白盆中,继续切拌均匀。当然,老生常谈的一句:不要转圈以免消泡。(事实上我也不知道为什么,只是大家都这么说也这么做。于是我也没有勇气去尝试转圈拌。)  10、倒入8寸蛋糕模中,轻摔三五下,震出大气泡。  11、烤箱选择蛋糕功能,上下火140度,时间50分钟,我修正为60分钟。预热完成,放入中层烤制。(连续失败了两次,都是出炉后倒扣没多久就发现中间塌陷,经试验发现是烤制时间短了点。延长至60分钟后轻微有一点点下陷,但基本看不出来。可以考虑延长至65分钟。)  12、蛋糕慢慢的长大。烤好后及时倒扣晾凉。  13、出炉约两小时彻底晾凉后,用脱模刀脱模。还算好吧?终于结束了用电饭煲烤蛋糕的日子了!!!  14、切开来看看,内部组织还是挺不错的哟。
|