
马上注册,结交更多同城好友,享用更多功能!
您需要 登录 才可以下载或查看,没有帐号?立即注册

x
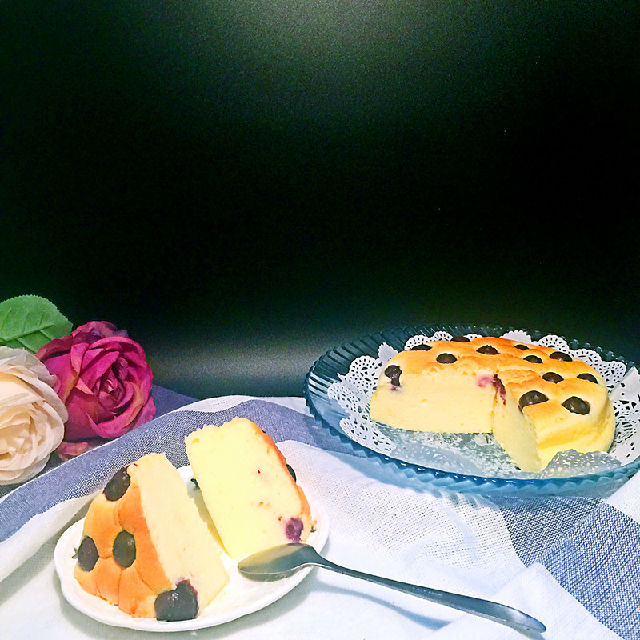 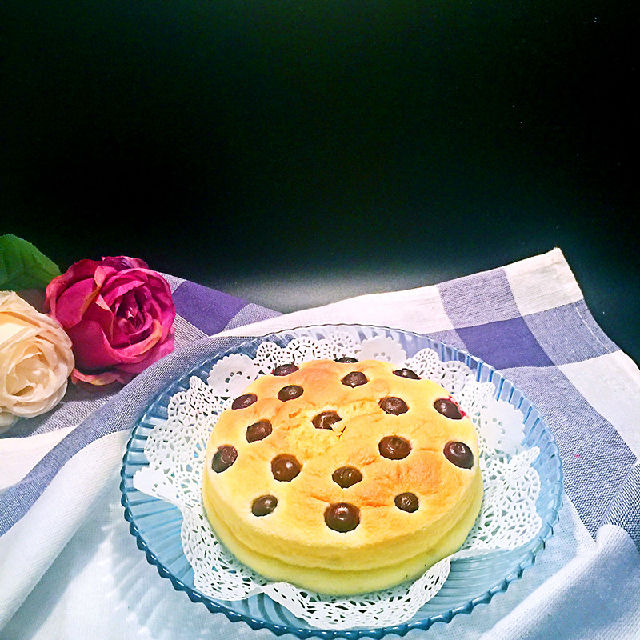 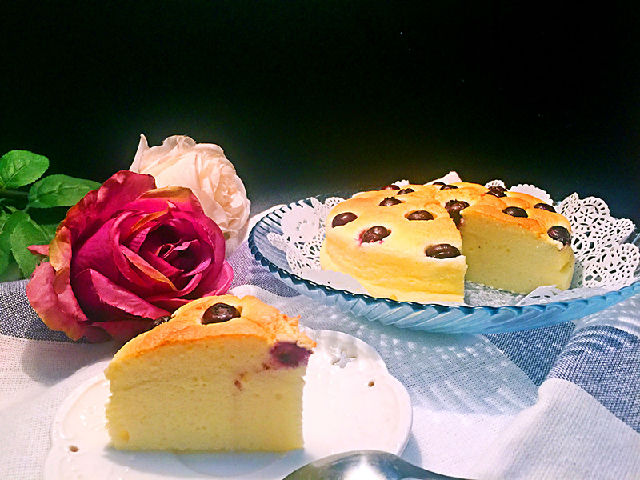 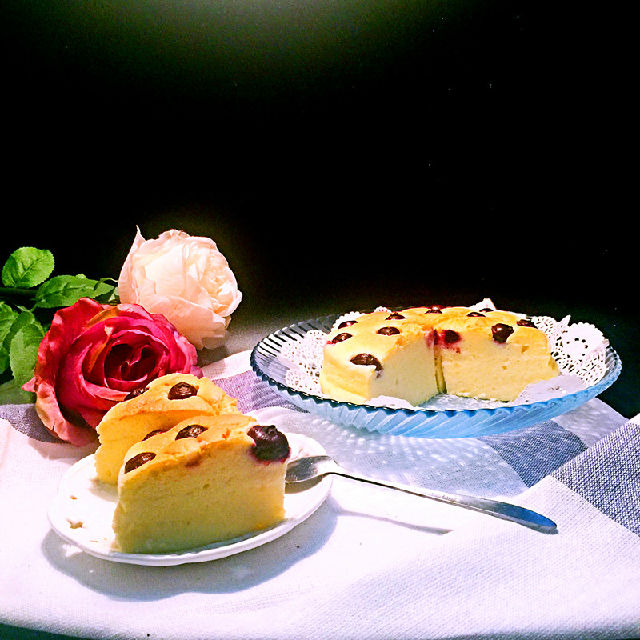 学厨的模具试用, 这款6寸活底蛋糕模采用进口华福涂层, 质量确实不错! 这次试做了酸奶蛋糕! 还加了点蓝莓在表面!
主料:低粉 (40g) 酸奶 (100g) 砂糖 (33g) 鸡蛋 (2个) 玉米油 (23g) 辅料:蓝莓 (18颗) 做法: 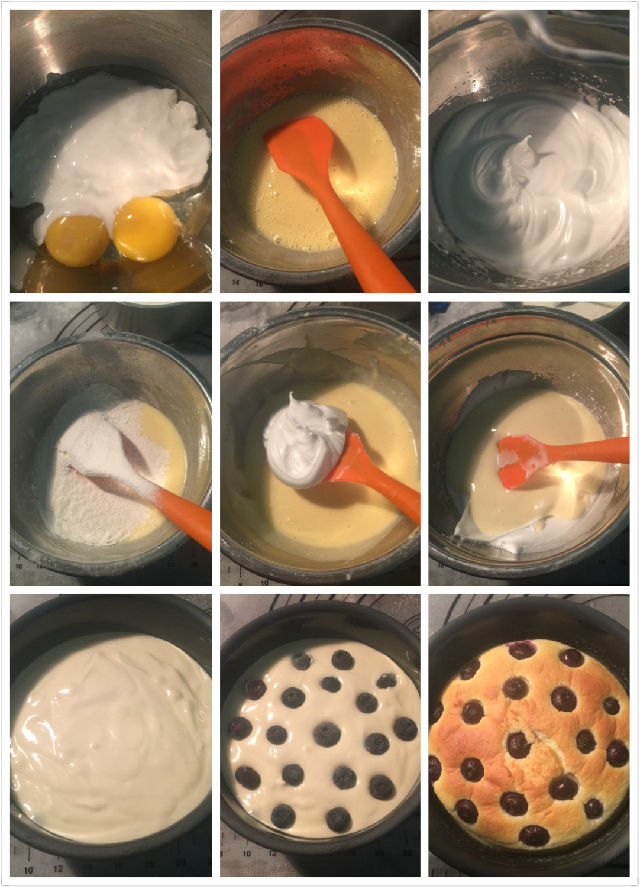 1、把2个鸡蛋的蛋白、蛋黄分开;蛋黄中加入玉米油和酸奶 2、搅打均匀 3、蛋白中分三次加入砂糖打发,打至湿性发泡 4、把低粉筛入蛋黄糊中搅拌均匀 5、取1/3蛋白霜加入到蛋黄面糊中,翻拌均匀 6、再倒回剩下的蛋白霜里翻拌均匀 7、模具中提前刷上一层油,把拌好的面糊倒入模具中,震出气泡 8、把蓝莓小心的一颗一颗放在面糊表面 9、用水浴法,烤箱预热150度烤40分钟,时间到,不要马上取出来,放烤箱焖30分钟。蛋糕取出等彻底冷却。彻底冷却后轻松脱模,最好再放入冰箱冷藏后味道更好
小窍门: 这款酸奶蛋糕口感吃起来和轻芝士蛋糕很相似
|