马上注册,结交更多同城好友,享用更多功能!
您需要 登录 才可以下载或查看,没有帐号?立即注册

x
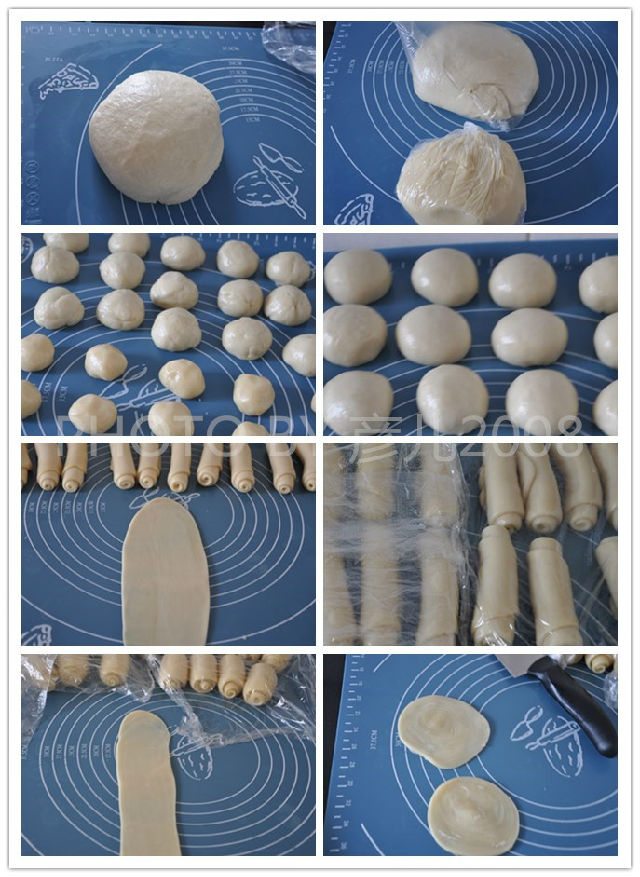
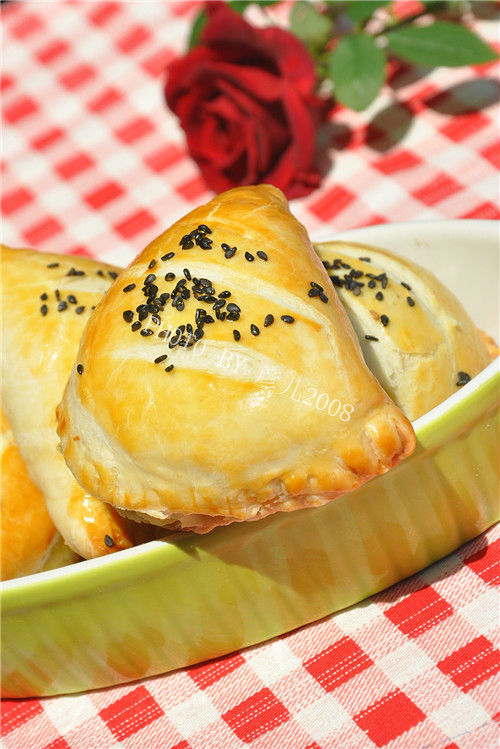
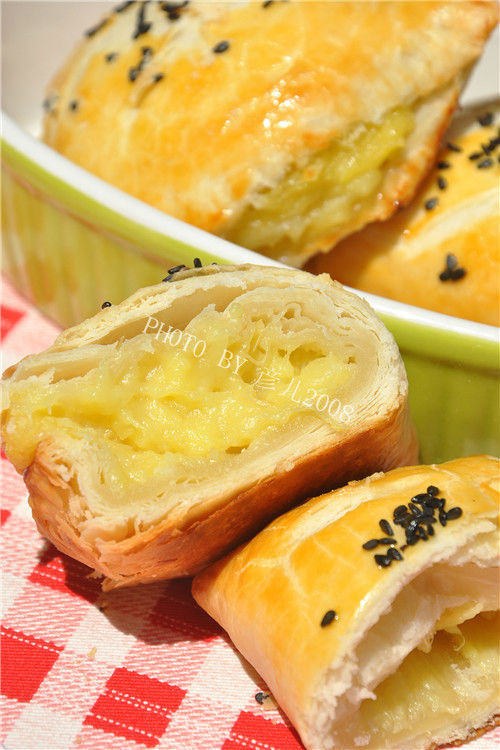
好久未发日志了 倒显得有些生疏 近期有幸得到长帝新款CRWF32AM智能烤箱的试用 不甚感激 今天做了过款大爱的榴莲酥 成品酥香可口 喜欢榴莲的亲们可以试试哦  油皮:中粉190克,花生油60克,糖13克,盐2克,水80克 油酥:低粉130克,花生油60克 榴莲泥250克,蛋液适量,黑芝麻适量 10个量   做法:1、将油皮中的所有材料混合,揉成光滑的面团,静置20分钟。 2、油酥中的花生油用微波炉打2分钟至出香味,与低粉混合,揉成团,静置10分钟。 3、榴莲打成泥备用。将油皮分成32克、油酥18克的小剂子,搓圆。 4、油皮分别包入一个油酥。 5、擀成长舌形卷起。
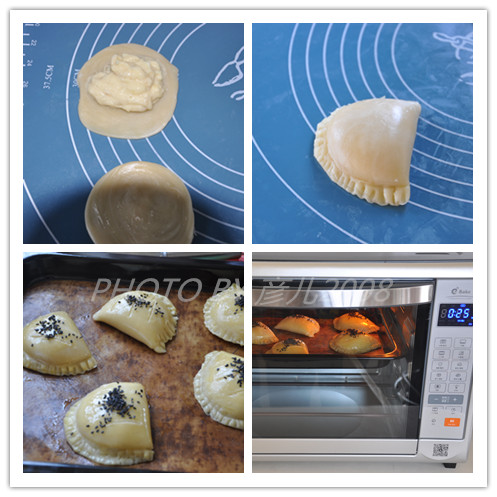
6、盖上保鲜膜松弛10分钟。 7、再次擀开成长舌形,盖上保鲜膜松驰10分钟。 8、大拇指按压面卷中间,两头合并压扁擀开呈椭圆型。 9、包入准备好的榴莲泥,对折压成饺子状。 10、预热烤箱一键式按纽,选择饼干/蛋挞键,烤箱自动显示180度,25分钟。 11、榴莲酥表面刷蛋液,洒芝麻。 12、预热10分钟后送进烤箱中层,180度烤25分钟出炉。
   
|